Conservator Alison Foster describes preparing John Allam’s helmet for display
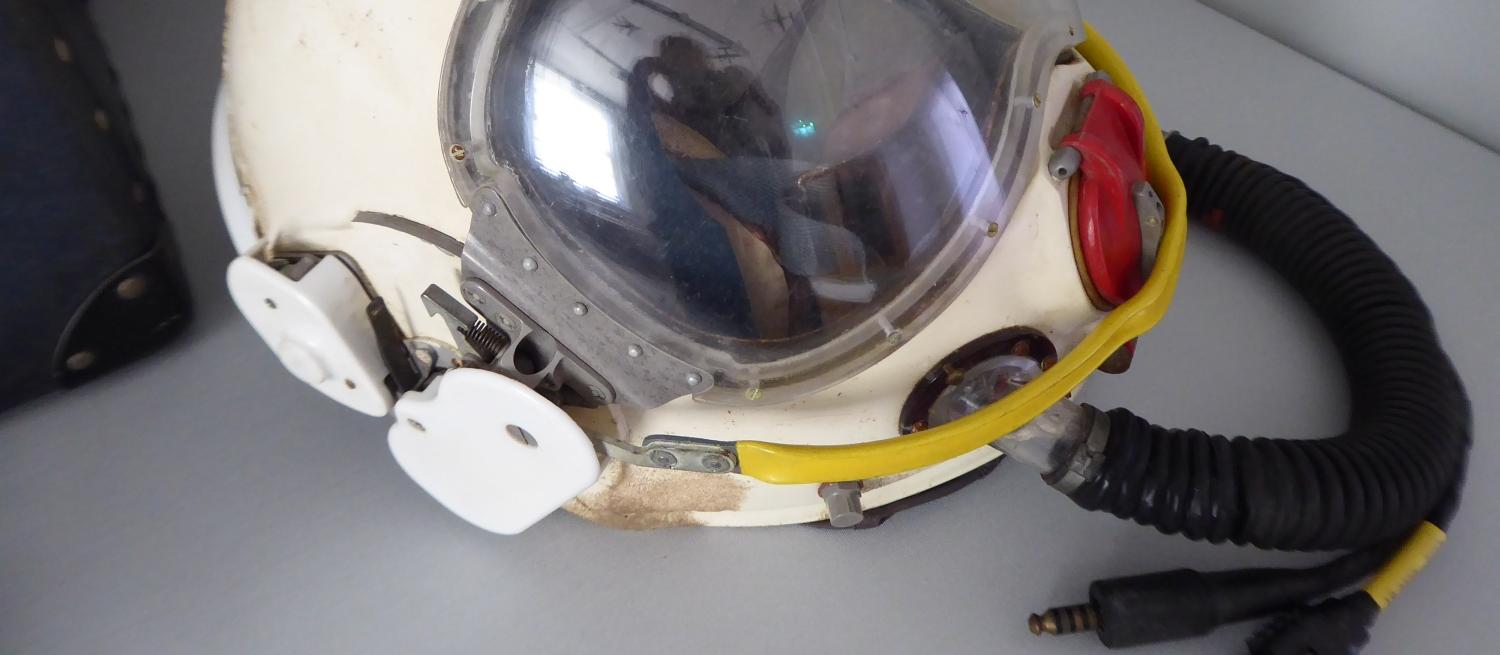
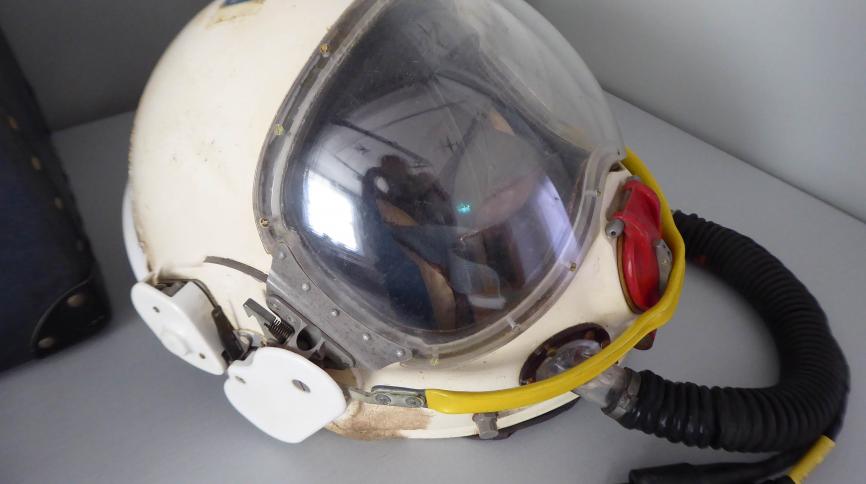
This is an aviation helmet, designed to provide protection for pilots flying at high altitude. It is the ‘ML type 12P Mark 3’ helmet, made by the M.L Aviation Company Limited. On 1st June 1957 it was worn by test pilot John Allam in the Handley Page aircraft ‘Victor XA917’, during which the aircraft went faster than the speed of sound.
You can read more about the Victor and John Allam's test flight here.
Conservation assessment
We’ve all become familiar with the term ‘PPE’, or personal protective equipment, over the last few weeks, and the importance of wearing the right equipment for the job. This is relevant for the day-to-day work of a conservator too. Even at the assessment stage, conservators need to think not only about protecting the object, but also about their own health and safety. Some museum objects can be a risk, either because of what they are made of (asbestos, lead e.g.) or because of potentially dangerous materials that are in, or on, them (mould, pesticides e.g.).
The helmet was one such object. Firstly, there was a small, but possible, risk of it containing asbestos. Asbestos was used historically in, for example, the filters of gas masks and linings of helmets. Secondly, the helmet had a strong smell of mould growth, due to it having been stored in a damp environment for a period of time. Before an assessment could be carried out, the helmet had to be dried out in our fume cupboard. In the meantime, research was undertaken to determine whether asbestos was present in the lining of the helmet.
Barry Knight, our invaluable conservation volunteer and a recently-retired Conservation scientist, set to work to find out. He managed to track down a Mr Chapman, who was involved in working on the development of the helmets for the M.L. Aviation Company. Correspondence with Mr Chapman, and study of the helmet manual, confirmed that asbestos had not been used, and it could therefore be safely handled, assessed, conserved and displayed.
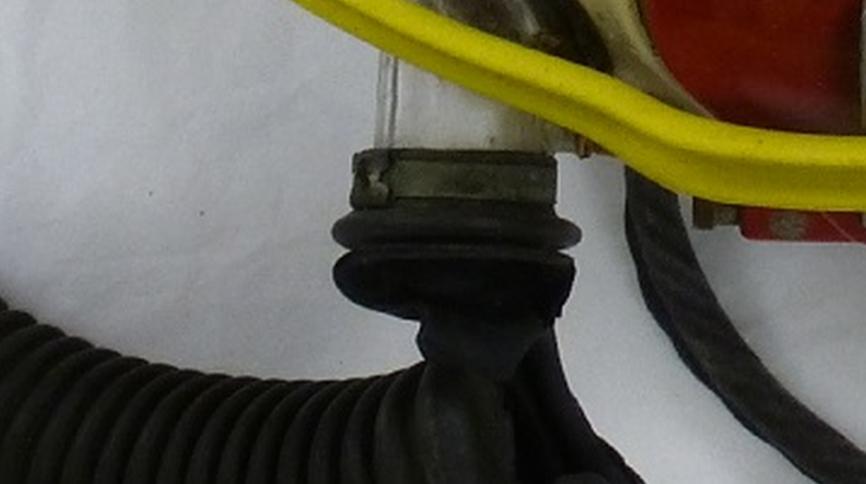
The assessment identified two other areas of concern. One was an inner foam, likely to be polyurethane, which is inherently unstable and deteriorates to form a crumbly powder. The other was the rubber oxygen supply tube, which was failing where the flexible tube rubs on the rigid connector on the helmet.
Conservation treatment
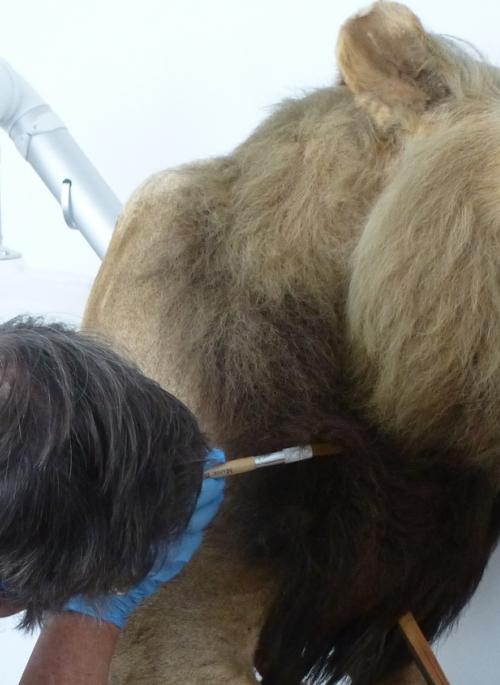
After several days in the fume cupboard to dry out, the helmet was removed and carefully dry-cleaned by Barry with a soft brush to remove mould spores. Loose powder from the deteriorating polyurethane foam was also removed in this way.
Sadly, there are no conservation treatments available for polyurethane which has begun to decompose to this level. Conservation approaches to modern foams instead focus on ‘preventive’ methods, i.e. looking at how storage or handling conditions can delay the onset of decay.
Conserving the oxygen tube
Conserving rubber is similarly problematic. Adhesives and solvents used frequently in conservation are not suitable as they are either ineffective on the rubber or would not be removable without dissolving it. It was therefore necessary to focus on an approach for the tube that would bring the two parts together, but not require application of any harmful materials.
I decided to experiment with creating a sleeve to bridge the two pieces together, that would:
- hold in place without the need for application of adhesive
- be flexible and conform to the concertina folds of the rubber tube
- be as ‘invisible’ as possible, i.e. ‘blend in’, without detracting from the original parts of the object
After several failed attempts with casting a shape in silicone, which created thick, bulky casts, I tried making a finer cast of the tube, using just thin tissue paper pieces and a small amount of water. As with papier maché, I built up layers of tissue over the tube, carefully shaping them in and around the tight contours, but using just water rather than wallpaper paste to soften the tissue and ‘meld’ each piece to the layer beneath.
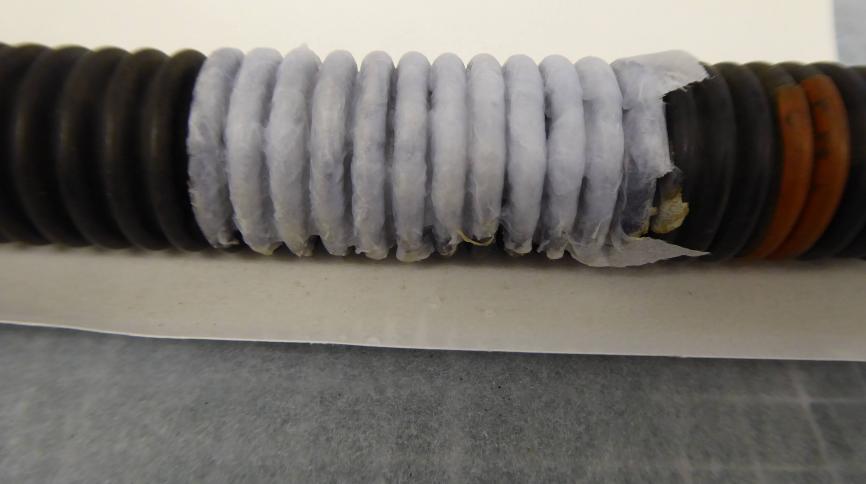
Using tissue paper had the advantage of being fine and flexible, and using just the water enabled the dried shape to be lifted from the tube without sticking to, or damaging, it. The cast shape could then be re-positioned over the break, and tied into place using fine cotton thread.


Further experiments focused on disguising the paper cast. Paint was not successful as it hardened and thickened the paper, reducing flexibility and showing up the irregularities. Instead, a thin silicone ‘self-fusing’ tape was used, wrapped tightly around the paper, and holding in place by sticking to itself. The gloss of the tape was reduced by sanding with coarse sandpaper, producing a similar matte appearance to the ageing rubber. The paper provides a protective barrier between the silicone tape and the rubber, enabling it to be easily removed without having an impact on the original materials.

Mounting the helmet liner
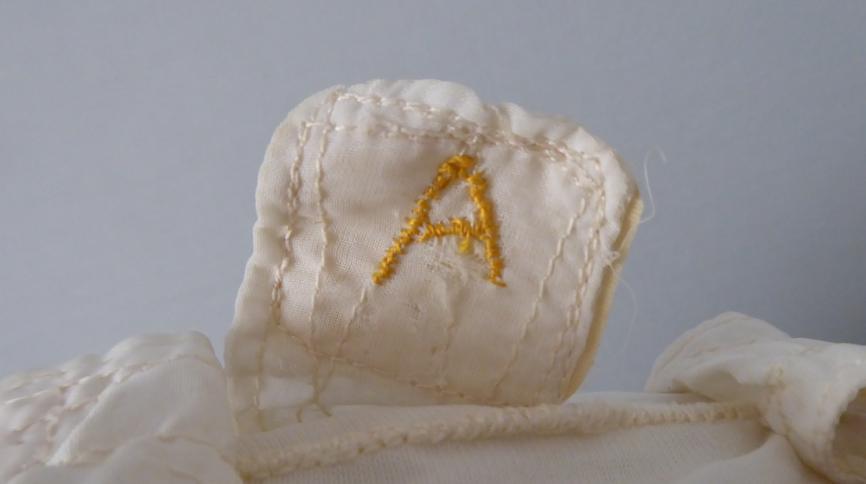
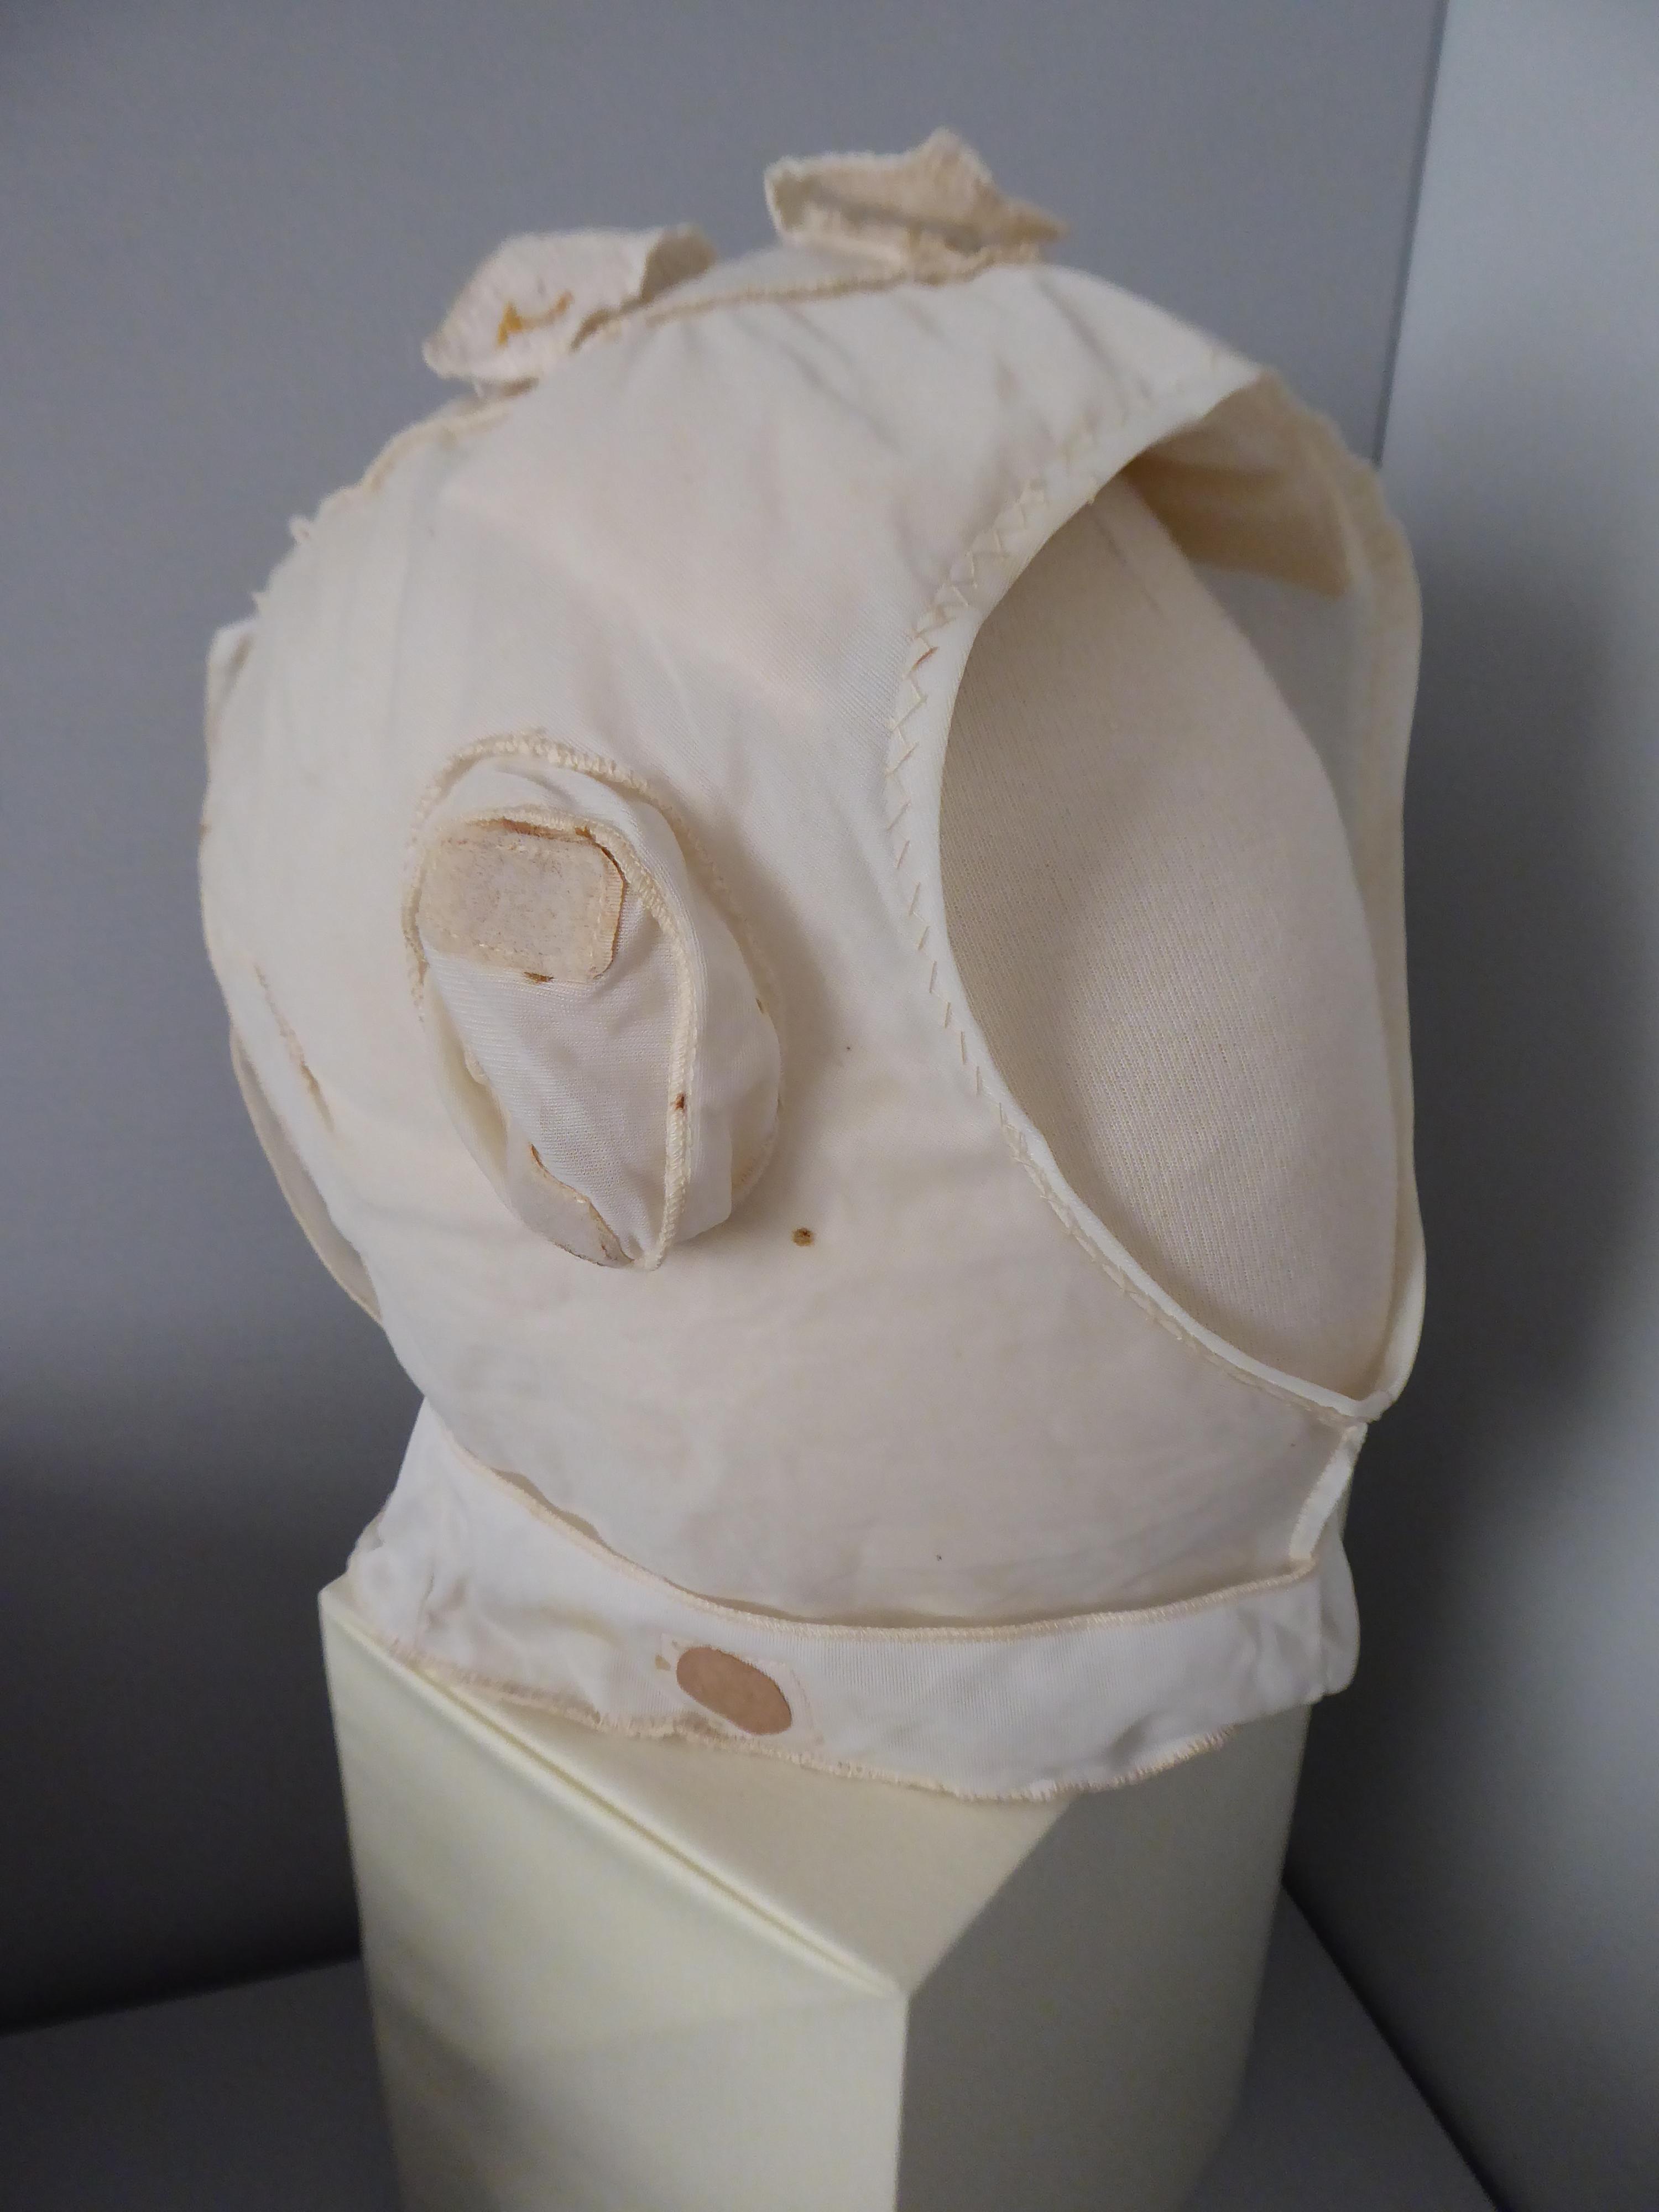
When assessing the helmet I discovered a soft inner liner, that would have provided some comfort to the wearer, and that could be removed for washing. I was thrilled to find that the liner had the initial ‘A’ embroidered on it, for (John) Allam. It’s always a privilege to get so close to an object that you find such hidden, personal details. I wanted to share this with our visitors, so decided to remove the liner and mount it separately for the exhibition.
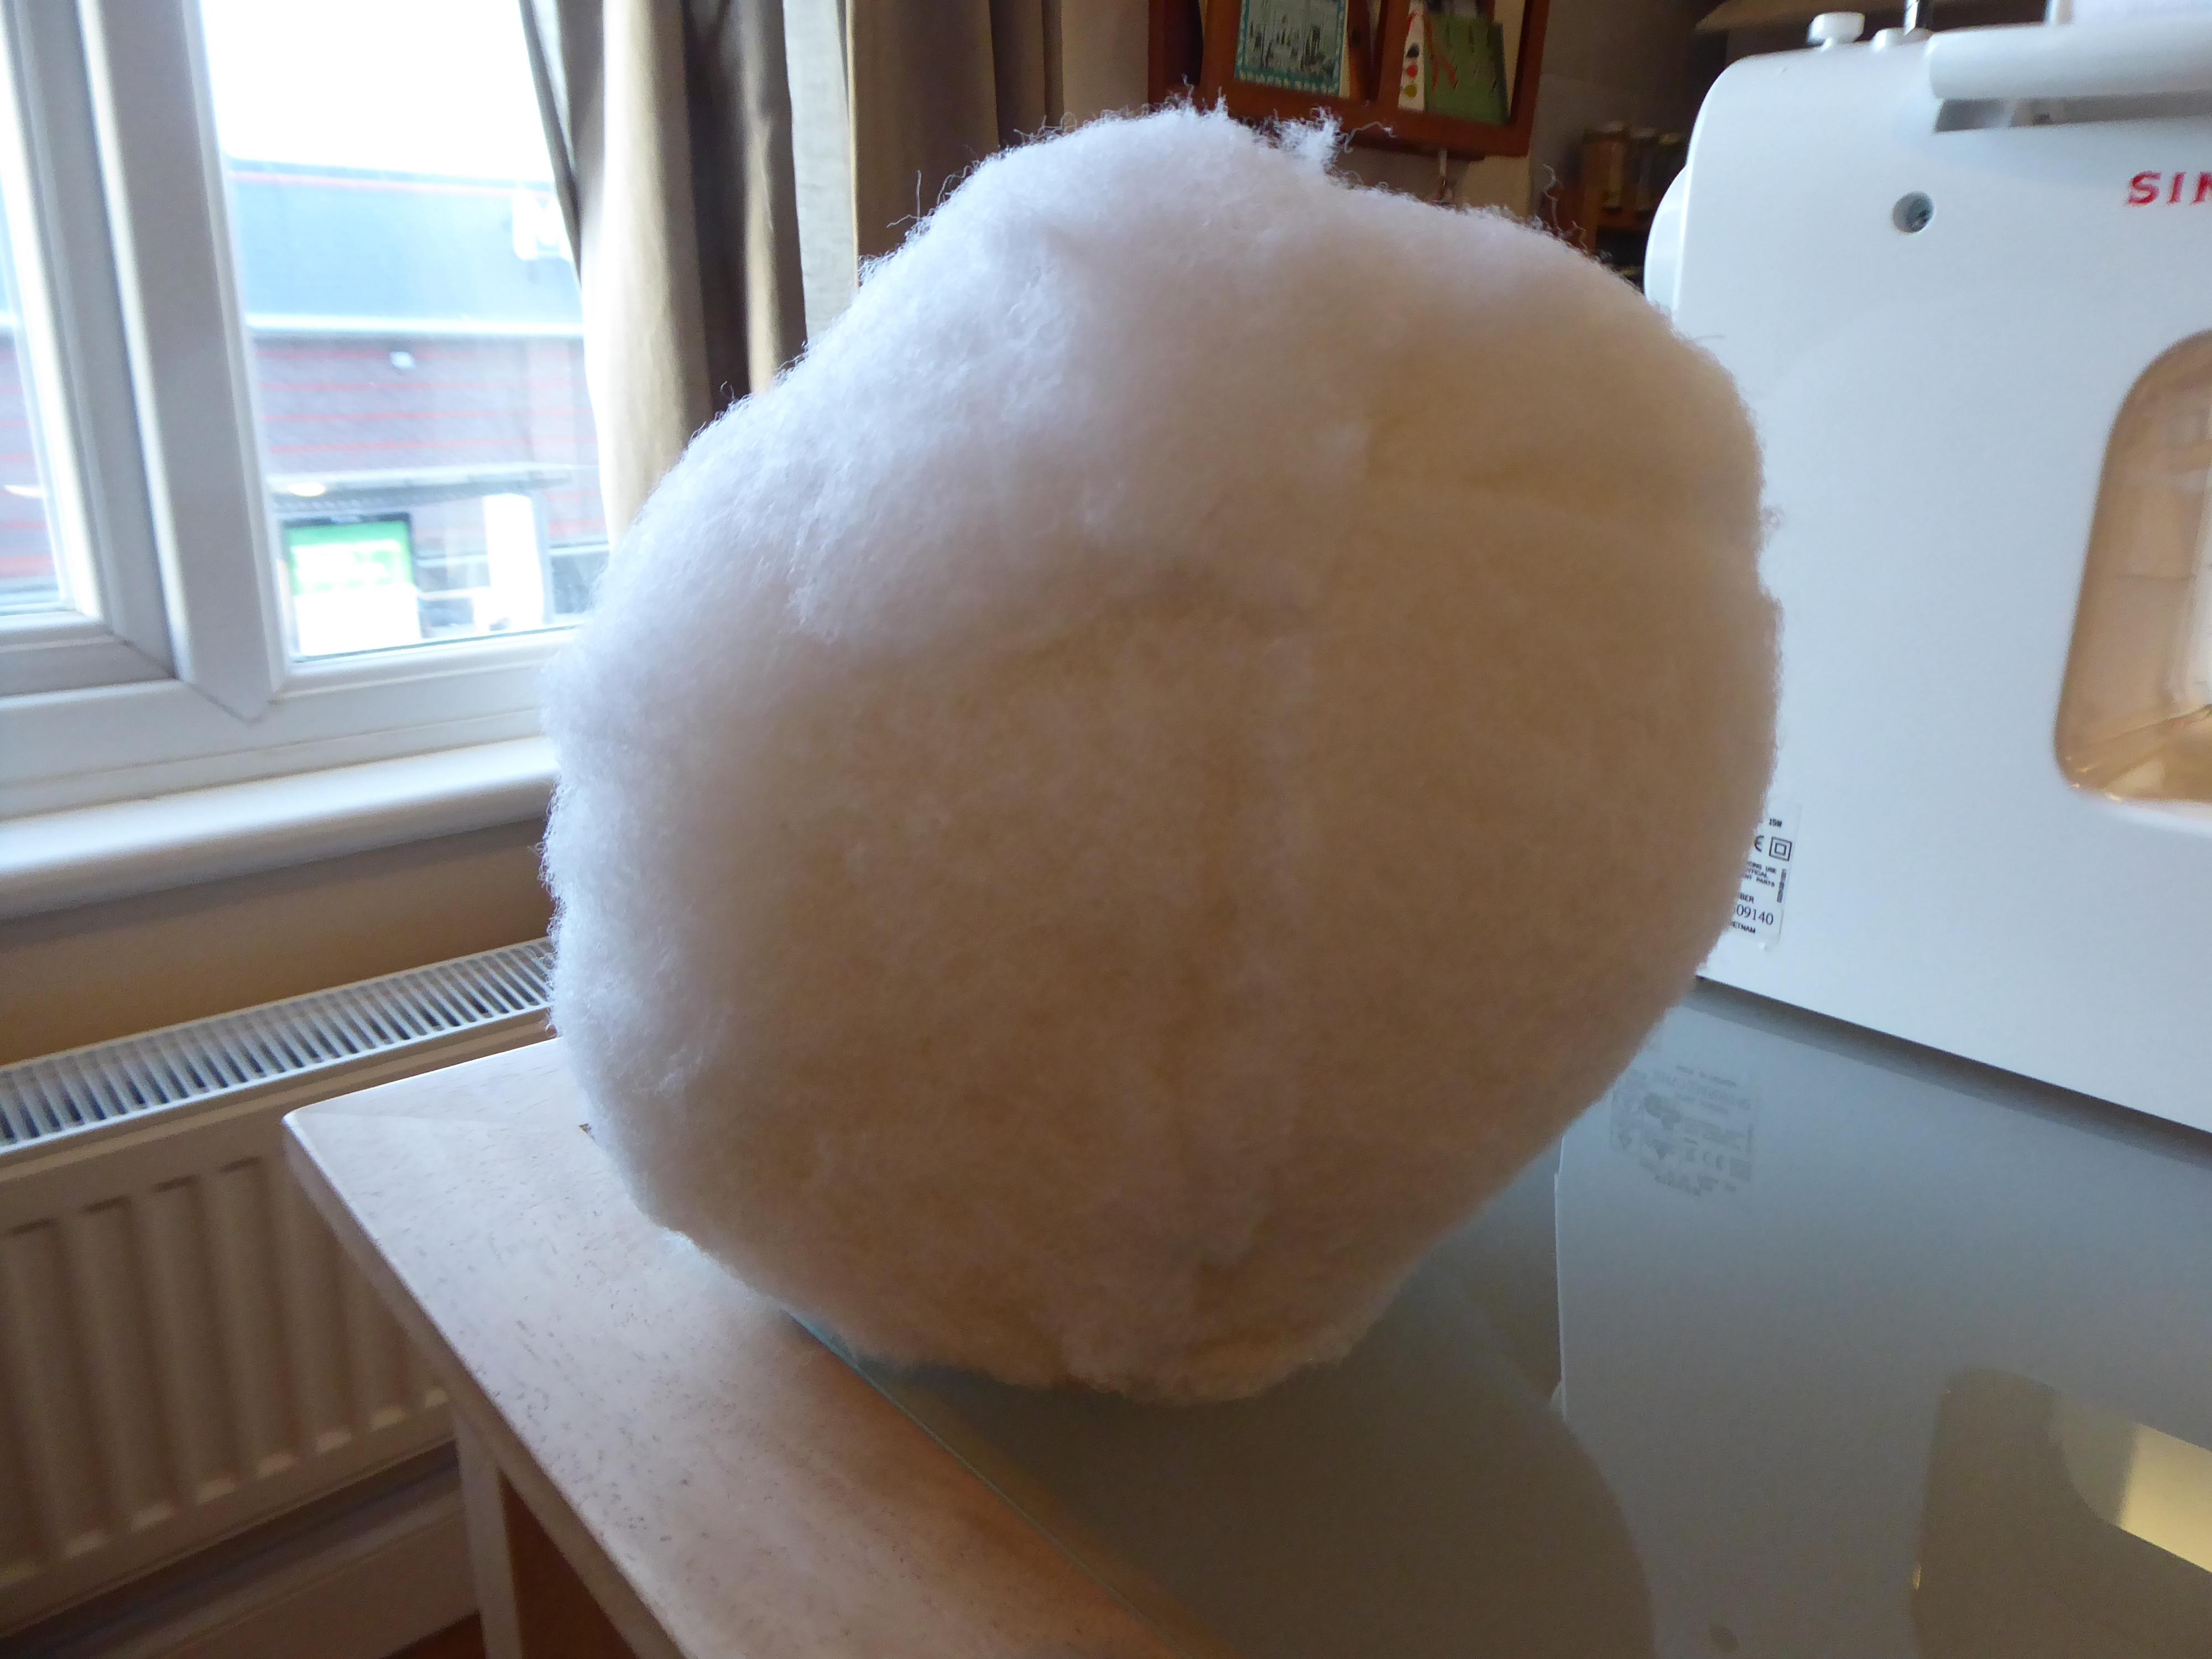
I started by placing the liner on the head of a mannequin we already have. It was clearly too small for the liner, didn’t provide enough support or display its shape correctly. To make the head larger I sewed shaped layers of polyester wadding onto it, which I frayed at the edges to make smooth joins. These layers were slowly built up until the head was the right size and shape to offer adequate support. The wadding layer was then covered with a soft cotton ‘stockinette’ fabric, providing a smooth layer for putting on/taking off the helmet liner, without any fibres catching.
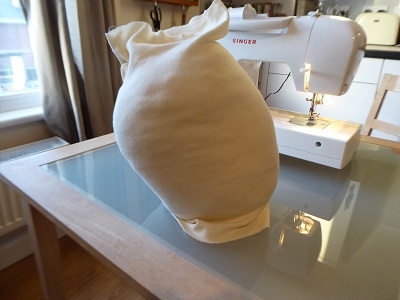
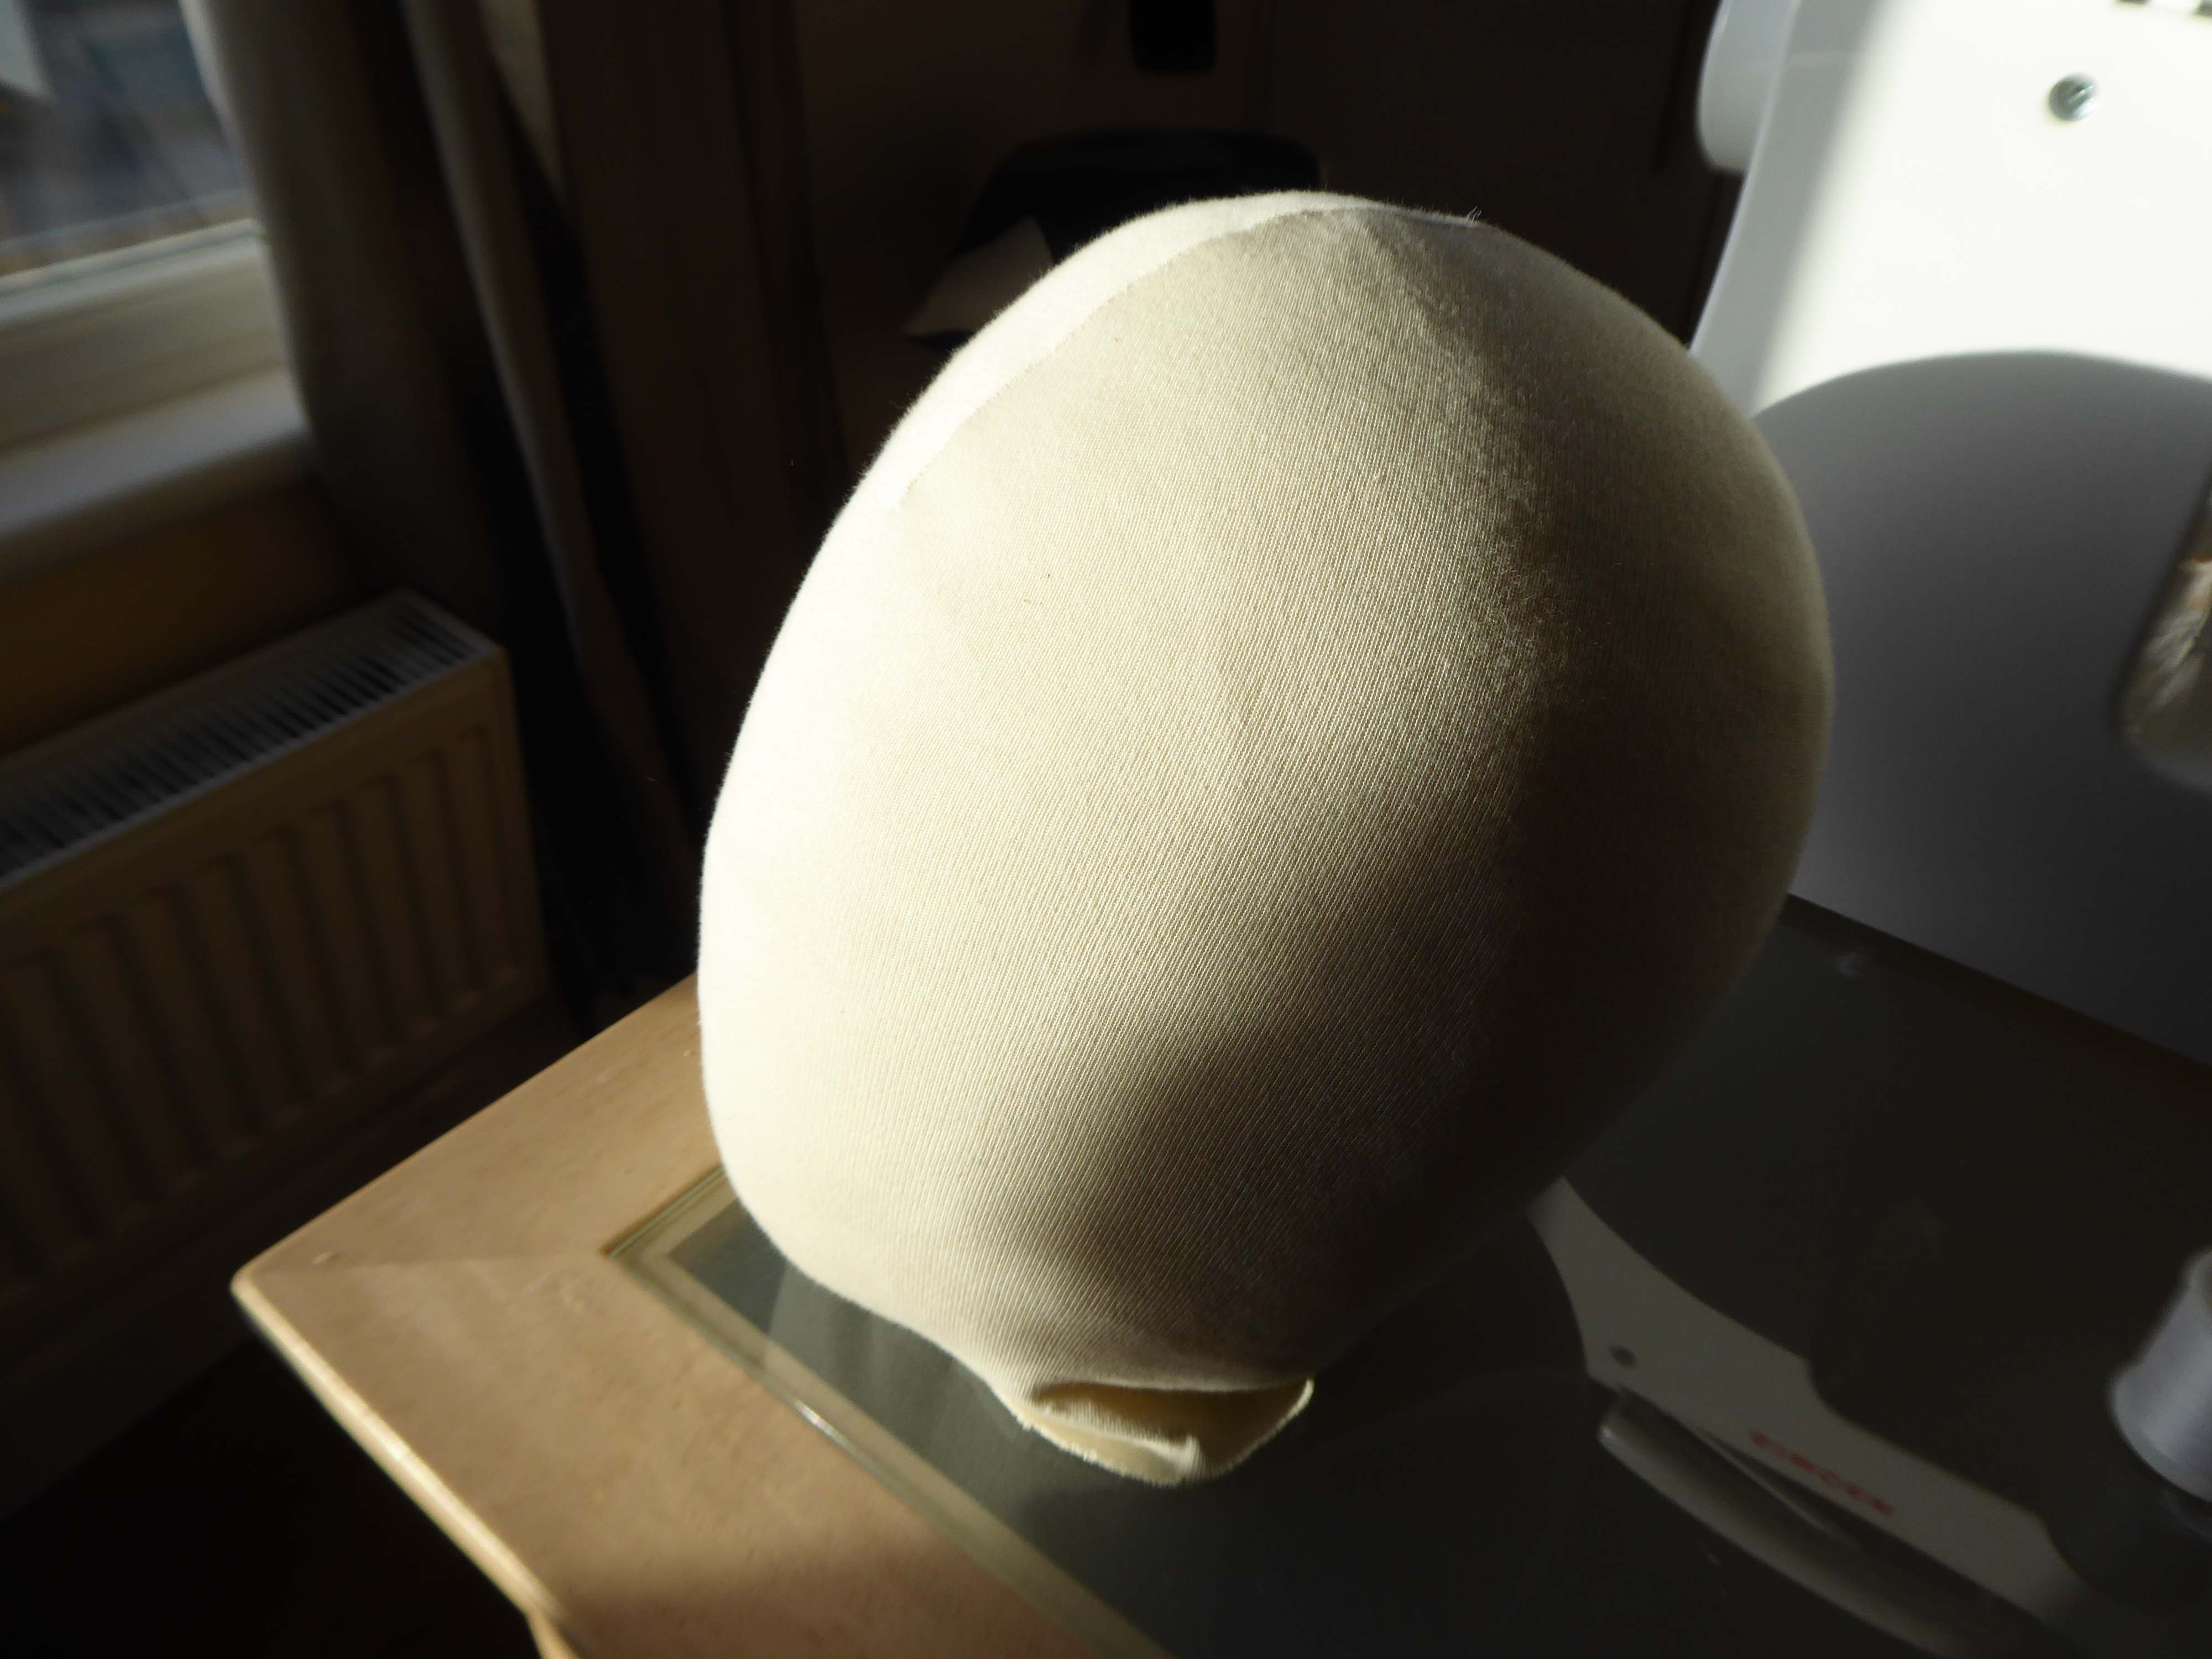
The finished head was then mounted onto a plinth to enable the liner to hang down without creasing. An additional cushion was made, again using wadding covered in stockinette, to add further padding and shaping to support the inner top front of the liner when on display.

We really hope you’ll get the chance to see these objects in person, when the museum is able to re-open. In the meantime, it’s great to be able to share some of the processes involved in conserving the objects for exhibition. Enjoy!